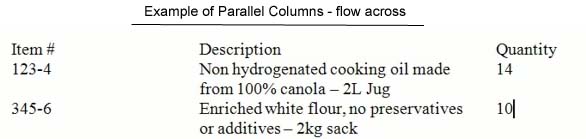
Working with Parallel Columns
Parallel columns flow across. Even if one column of text takes up multiple lines, subsequent rows are entered below the data.
Creating parallel columns is done by creating a table with no visible lines. To make a table, go to the Insert tab of the Ribbon and select Table. You can then identify how many columns and rows you would like to start with. Word will always add more rows when you tab within any table as well.

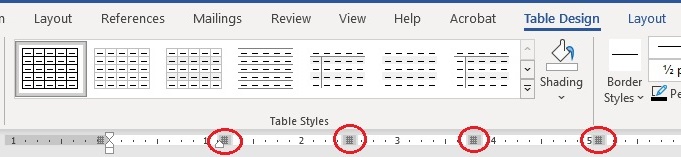
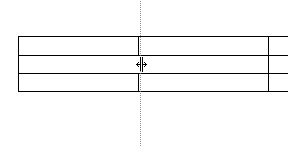
Two new table tabs, including the Table Design tab, will automatically come up on the Ribbon. You can adjust the column widths either by clicking and dragging the markings on the ruler or the edges of the table cells themselves.
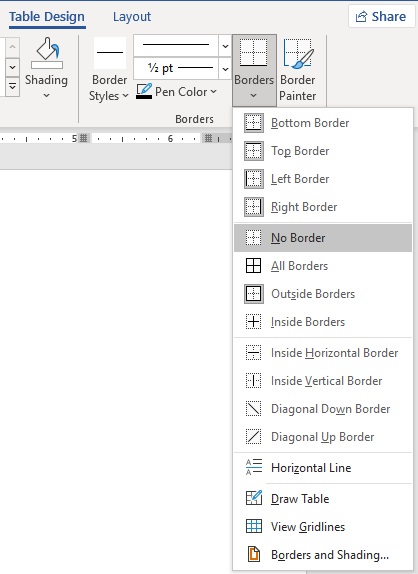
To get the table to appear as parallel columns without the outlines of a table, first select the table by clicking the icon in the corner.

Then go to the Borders drop-down arrow in the Table Design tab and select No Border.
The result will be text formatted as parallel columns.